
Roman blind measuring guide
Measure in minutes with our step-by-step inside mount and outside mount instructions—so your custom roman blind fits perfectly.
Roman blind measuring guide – Inside Mount vs Outside Mount
Inside Mount

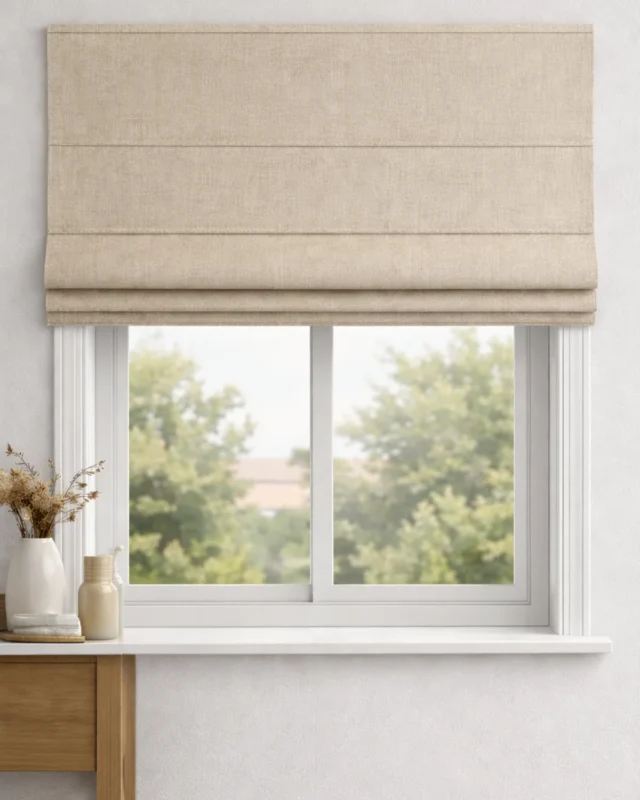
Outside Mount
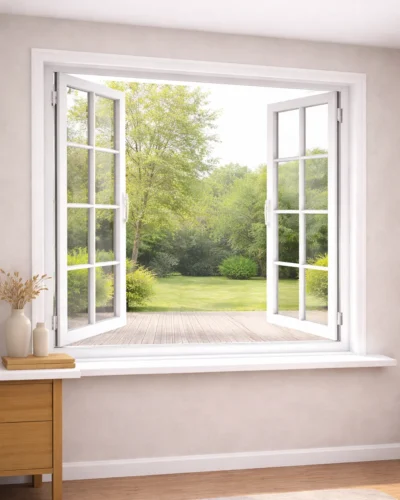
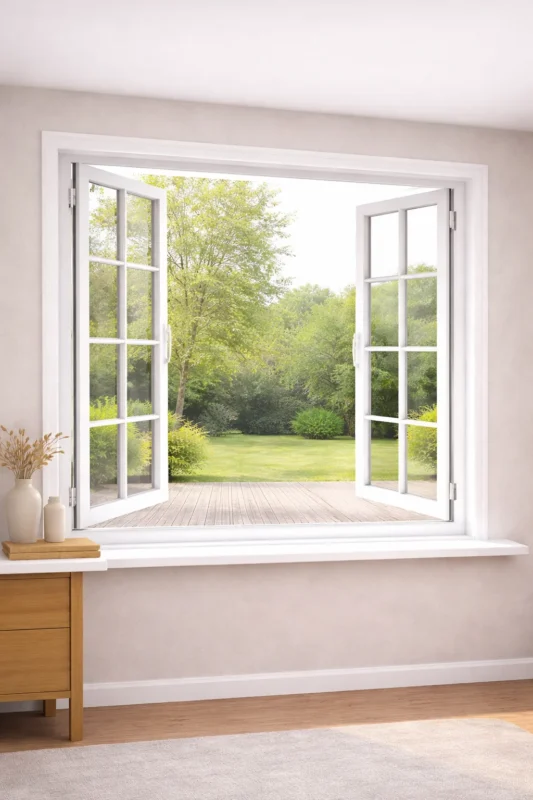
Outward-opening window
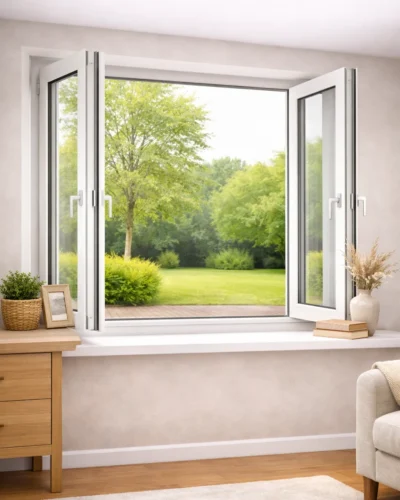
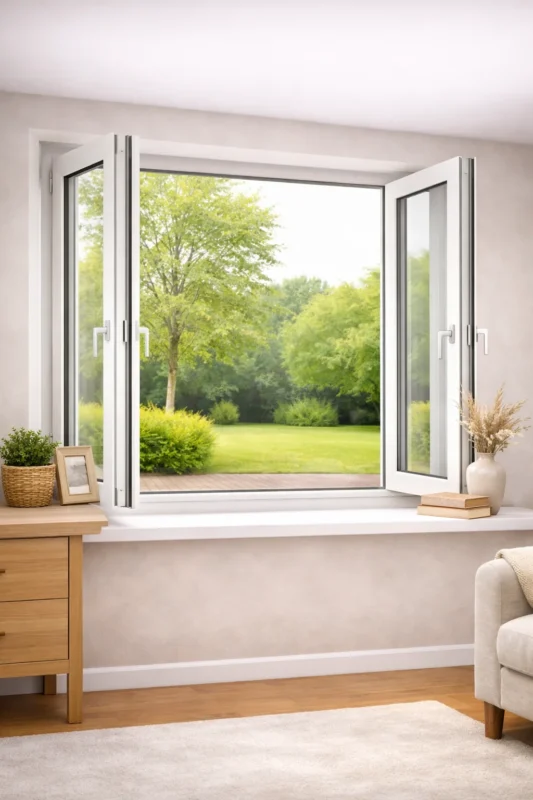
Inward-opening windowt
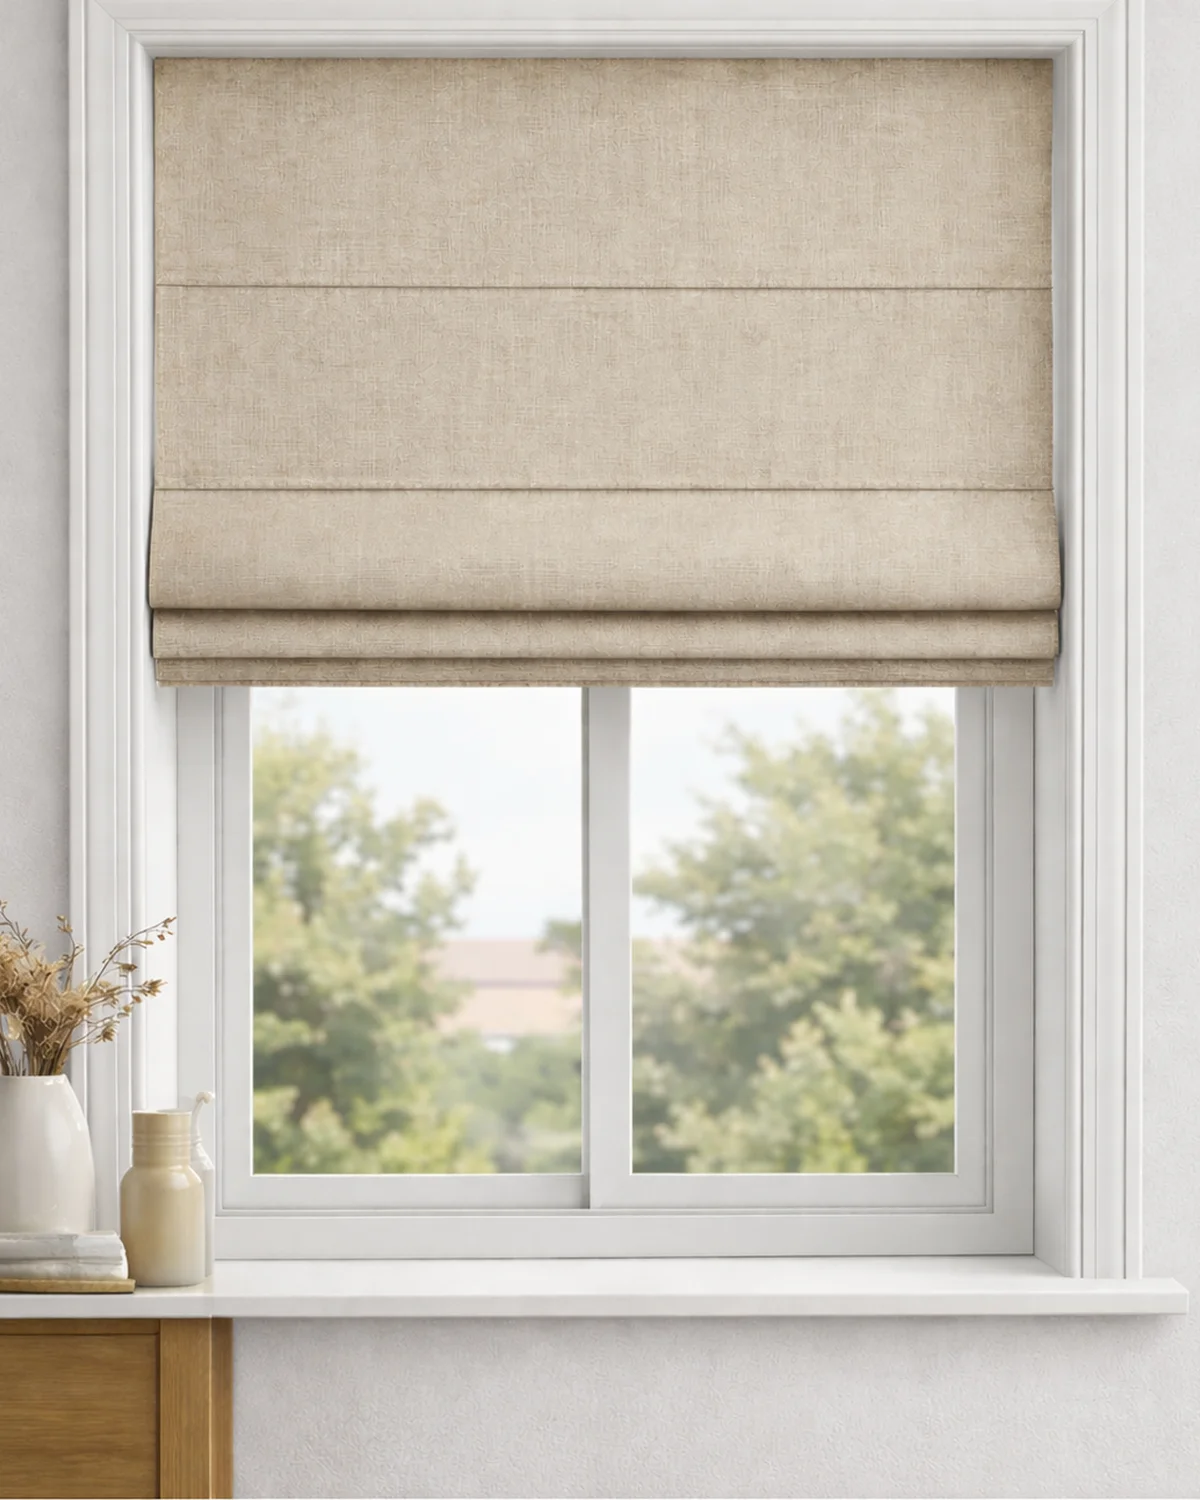
Inside Mount
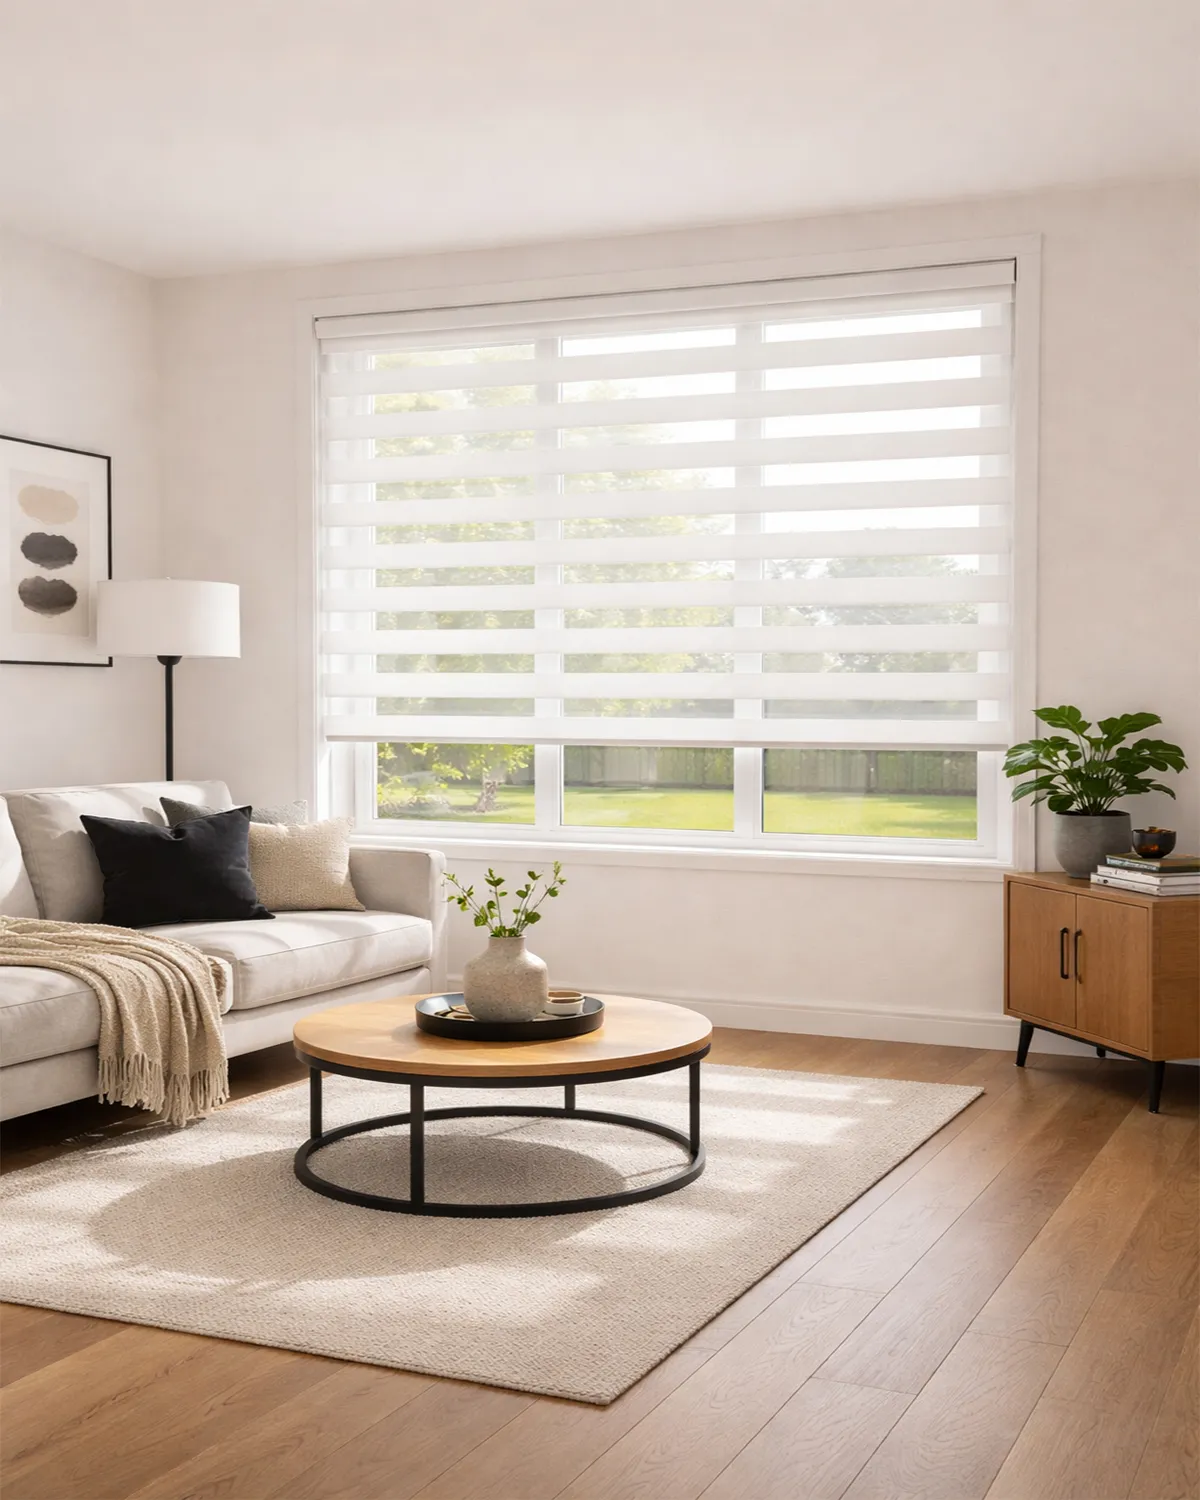
Inside Mount: Installed inside the window recess for a clean, tailored look. Best when the recess depth is sufficient.
Inside Mount – Window Type Notice
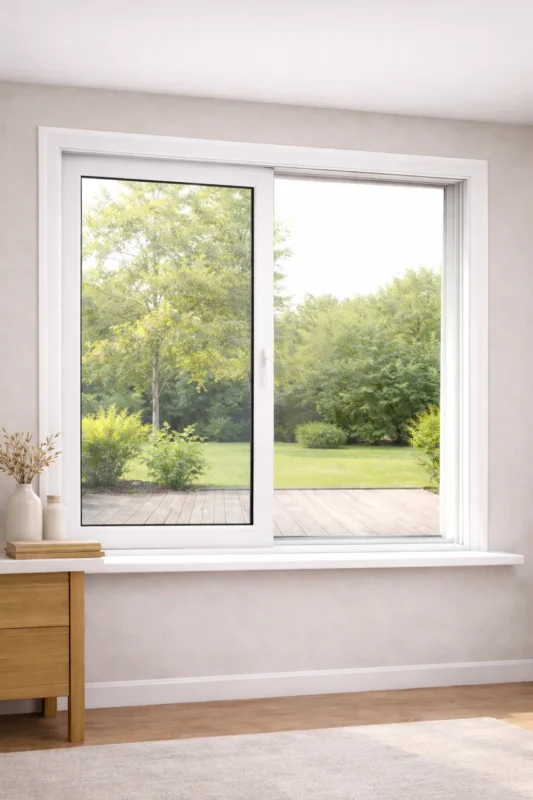
Best for: sliding or outward-opening windows.
For inward-opening (tilt & turn) windows, please check clearance to ensure the blind/shade won’t interfere when the window opens.
Outside Mount
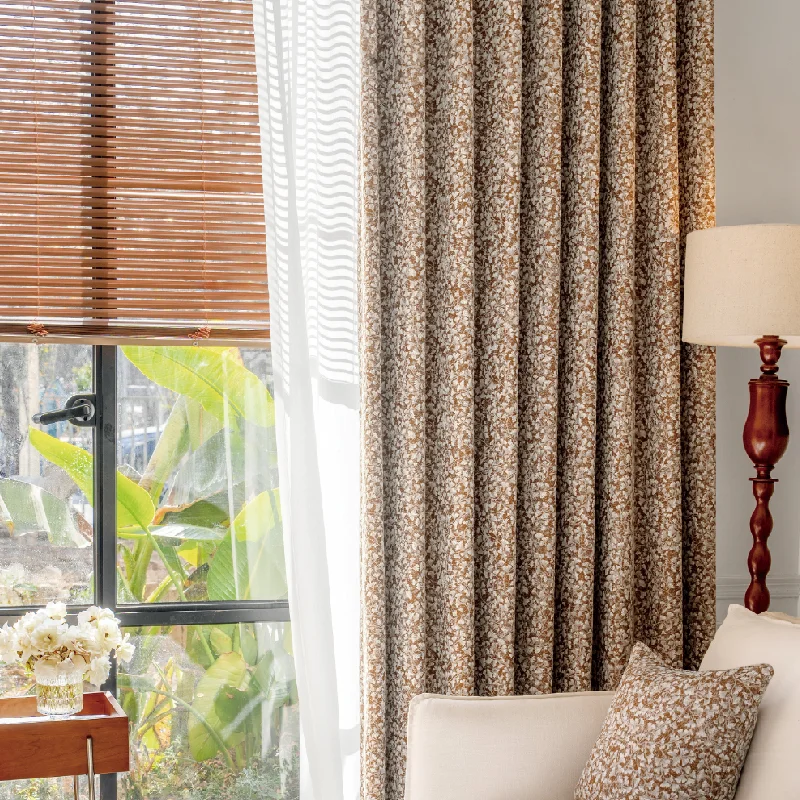
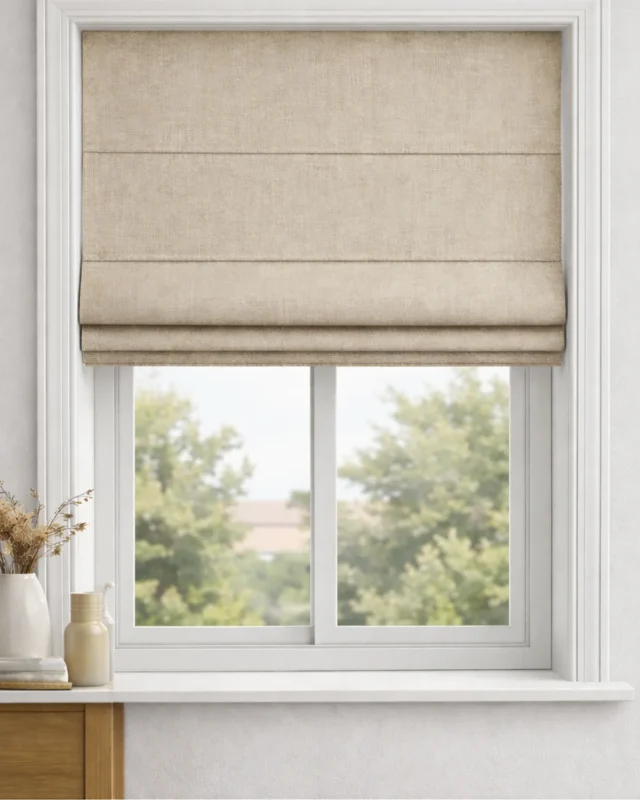
Outside Mount: Mounted on the wall or above the window frame for better coverage. Ideal when the recess depth is limited, or when you want to cover trim/gaps and improve light control and privacy.
Inside Mount (Recess Fit) – Measuring Guide
Universal (Roman Shades / Roller Blinds / Honeycomb Shades & More)
Best for:
Fitting the blind inside the window recess for a clean, built-in look.
Window type notice:
Inside Mount is ideal for sliding or outward-opening windows.
For inward-opening (tilt & turn) windows, please check that the blind will not interfere with the window when it opens.
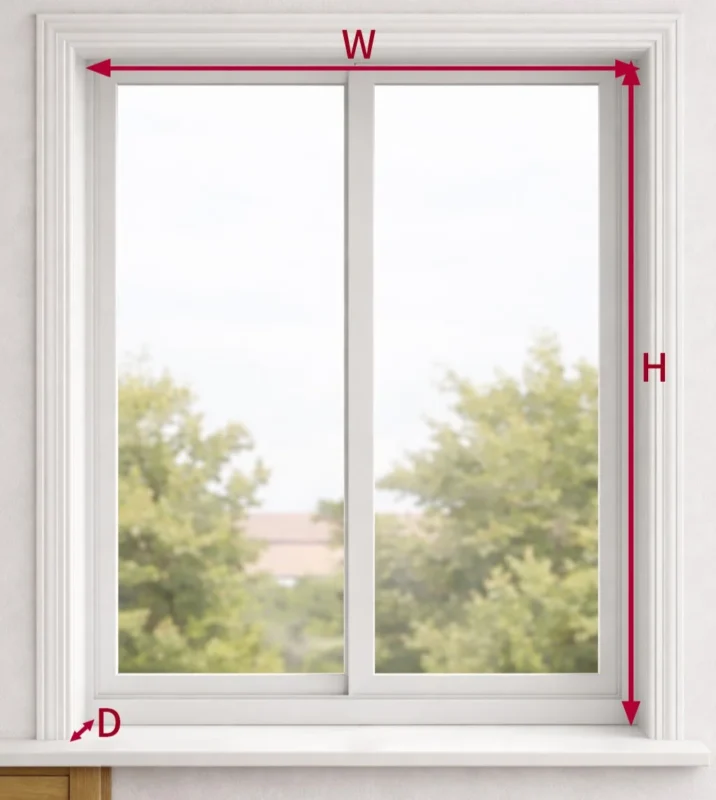
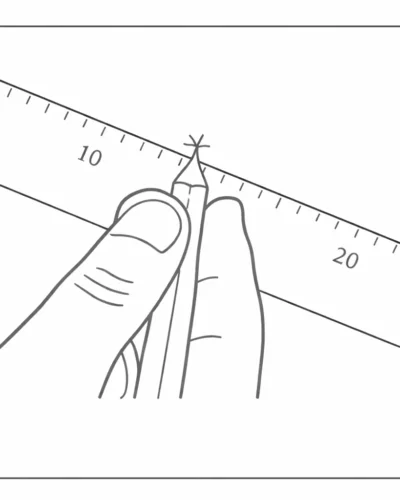
1) Blind Width (W)
▪ W = Inside width of the window recess
▪ Measure left to right inside the recess.
▪ Take measurements at top / middle / bottom.
Use the smallest measurement as W (recesses are not always perfectly straight).
Clearance note (important):
To ensure smooth operation, a small clearance may be required.
If you’re unsure, submit your measurements and we’ll confirm the best fit.
2) Blind Height / Drop (H)
▪ H = Inside height (drop) of the window recess
▪ Measure from the top inside edge of the recess down to the sill / bottom inside edge.
▪ Take measurements at left / centre / right.
▪ Use the smallest measurement as H for a safe fit.
Hardware & obstacles note:
If there is a handle, latch, sensor, or any hardware inside the recess, please allow the required clearance so the blind won’t rub or hit the obstacle.
3) Recess Depth (D)
▪ D = Depth of the window recess
▪ Measure from the front edge of the frame back to the deepest point.
Minimum depth requirement:
▪ D ≥ 5cm (depth requirements may vary by system)
▪ If D < 5cm, we recommend Outside Mount for the best result.
Quick Tip
If your window recess is uneven (common in older homes), always follow the smallest width and smallest height measurements to avoid fitting issues.
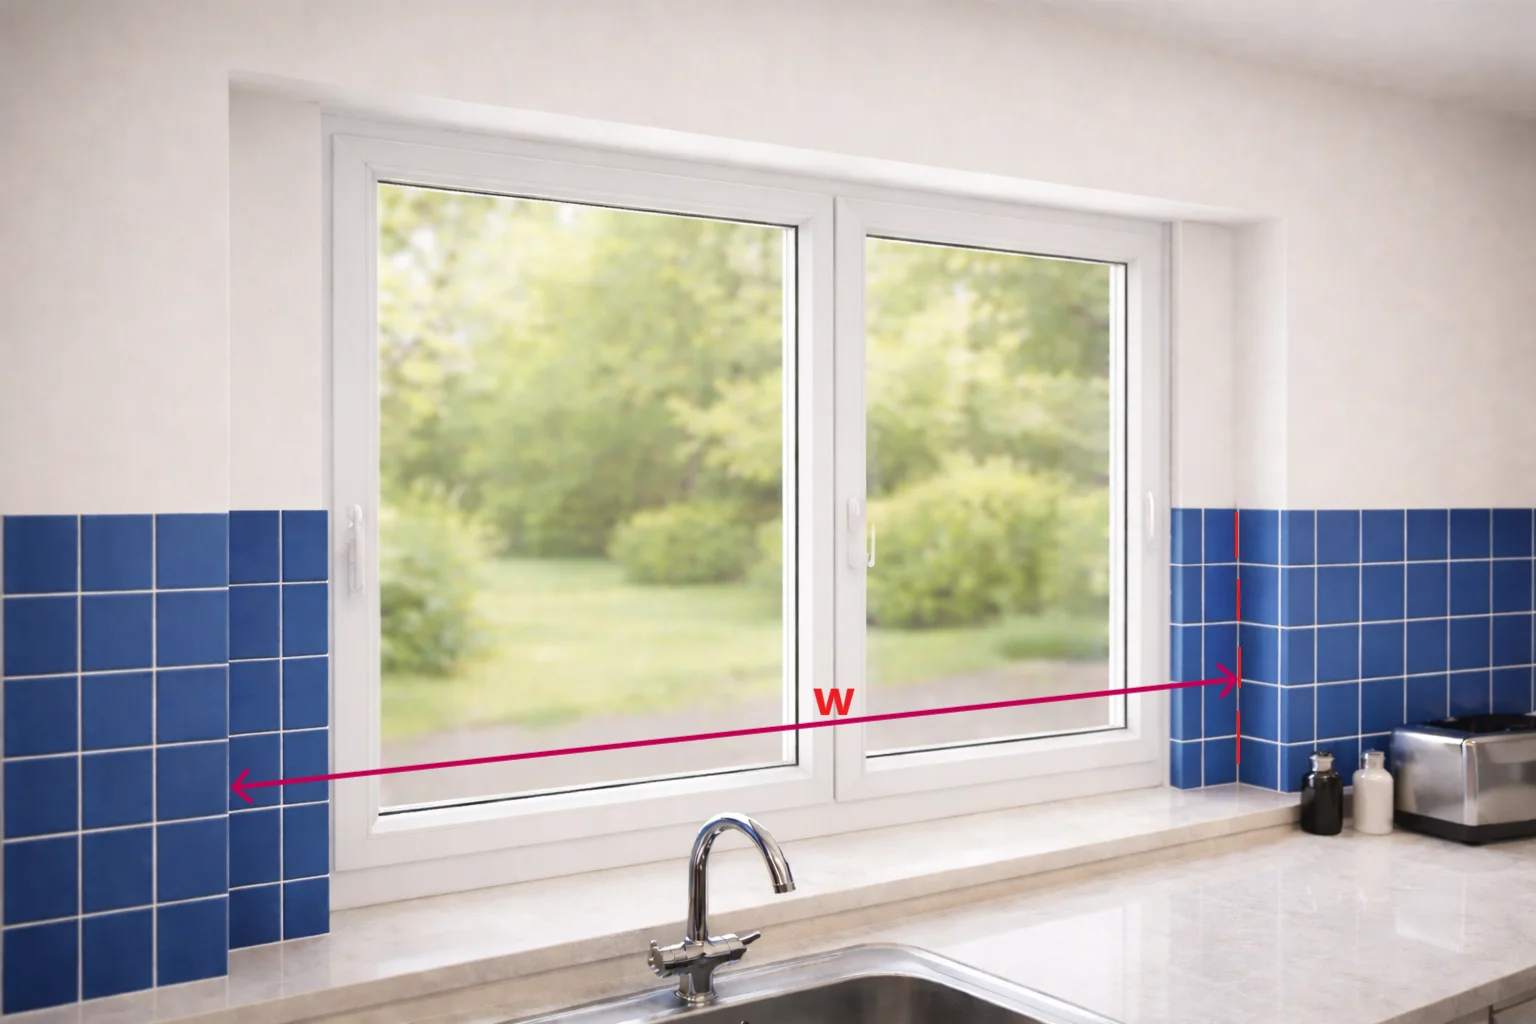
Tiled Recess Tip (Kitchens & Bathrooms)
If your window recess is partially tiled, the space between the tiles is often the narrowest point.
Please measure the width between the tiles to make sure your blind/shade will fit.
In these situations, brackets are often installed using top-fix (ceiling mount) or face-fix (wall mount). Our brackets are universal for both methods, so no extra hardware is required.
Outside Mount Measuring Guide (Universal – Roman Shades / Roller Blinds / Honeycomb Shades & More)
Best for:
Outside mount installation (on the wall or above the window frame) for better coverage, improved light blocking, and a visually larger window.
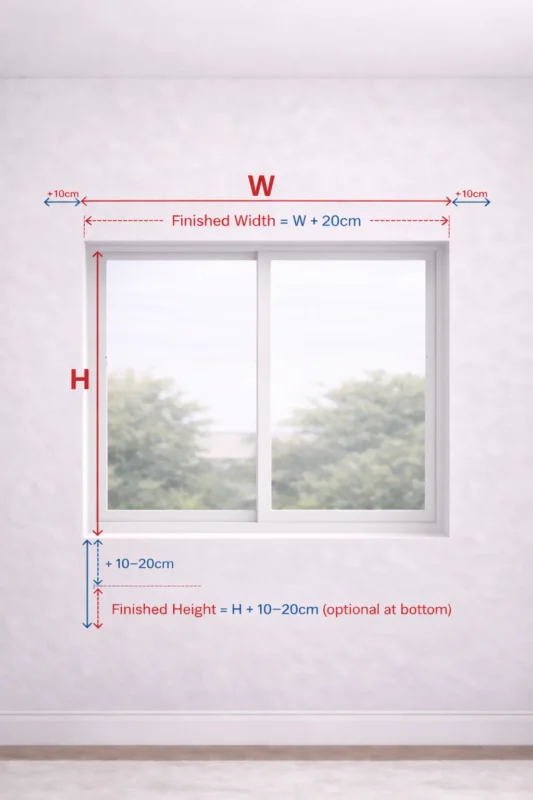
1) Measure the Width (W)
▪ Measure the full outside width of the window frame (left edge to right edge).
▪ Record this as W.
✅ Recommended Finished Width:
Finished Width = W + 20cm (adds +10cm each side for better coverage)
2) Measure the Height (H)
▪ Measure the outside height of the window frame (top to bottom).
▪ Record this as H.
✅ Optional Finished Height (customer choice):
Finished Height = H + 10–20cm (optional at bottom)
▪ Add +10cm for a cleaner look
▪ Add +20cm for more coverage / better light control
Tip
If you want maximum privacy and light blocking, choose +20cm at the bottom.
Roman Shade Installation Guide
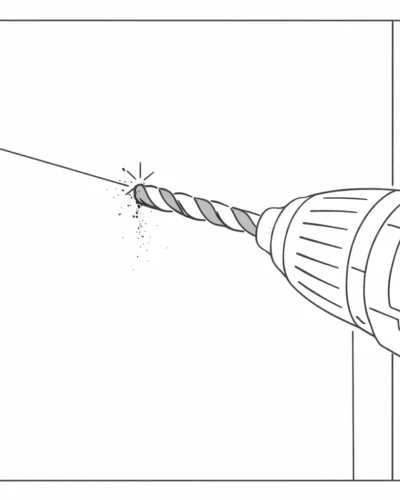
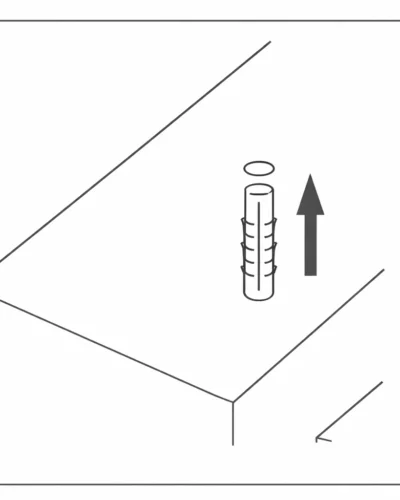
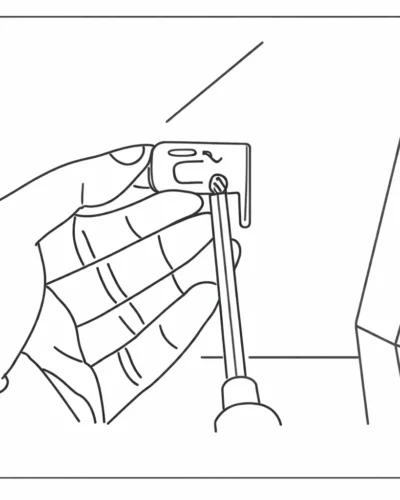
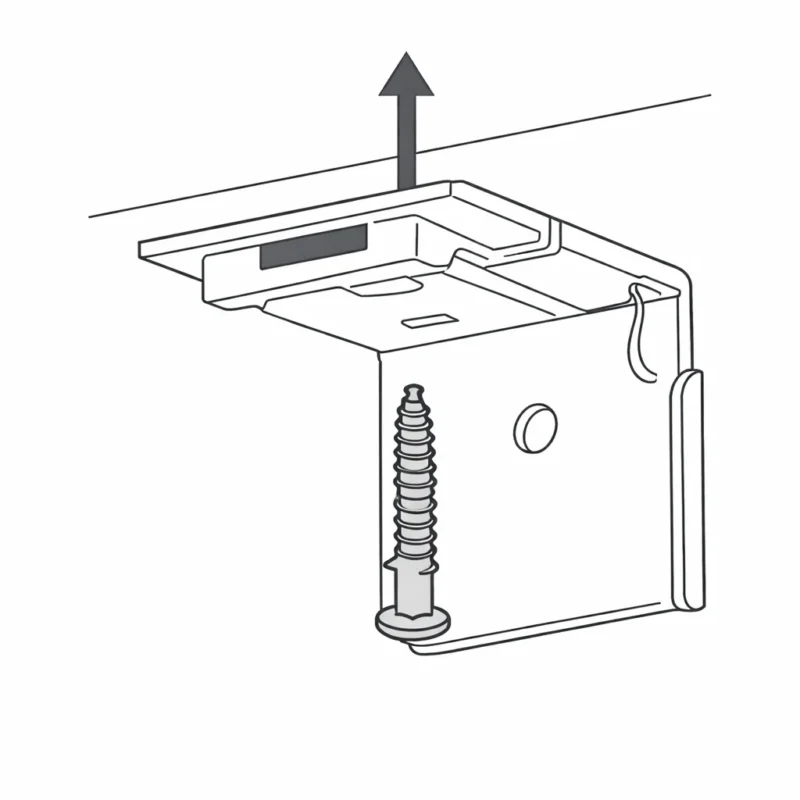
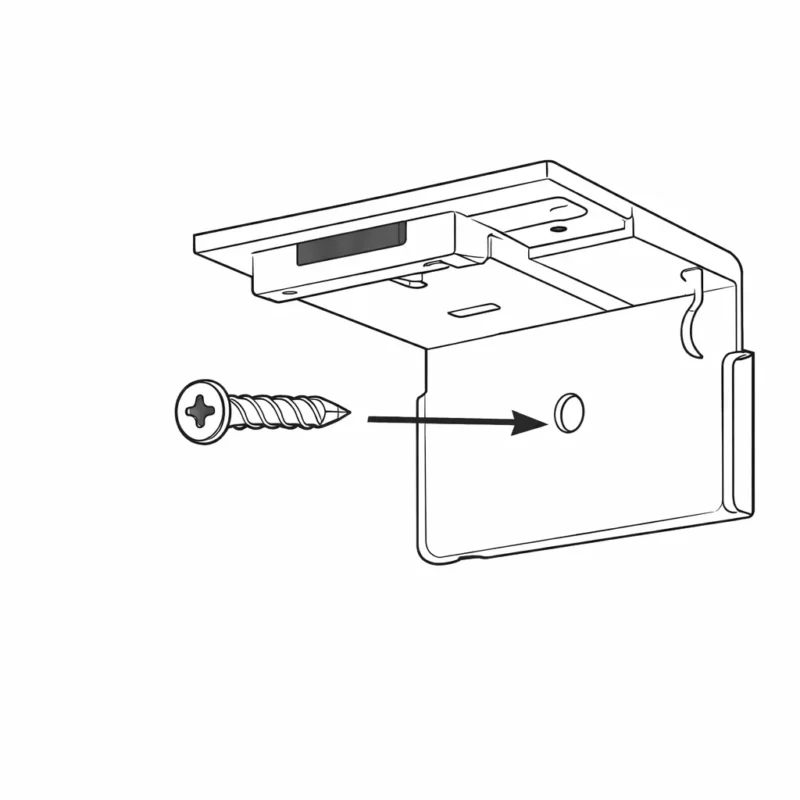
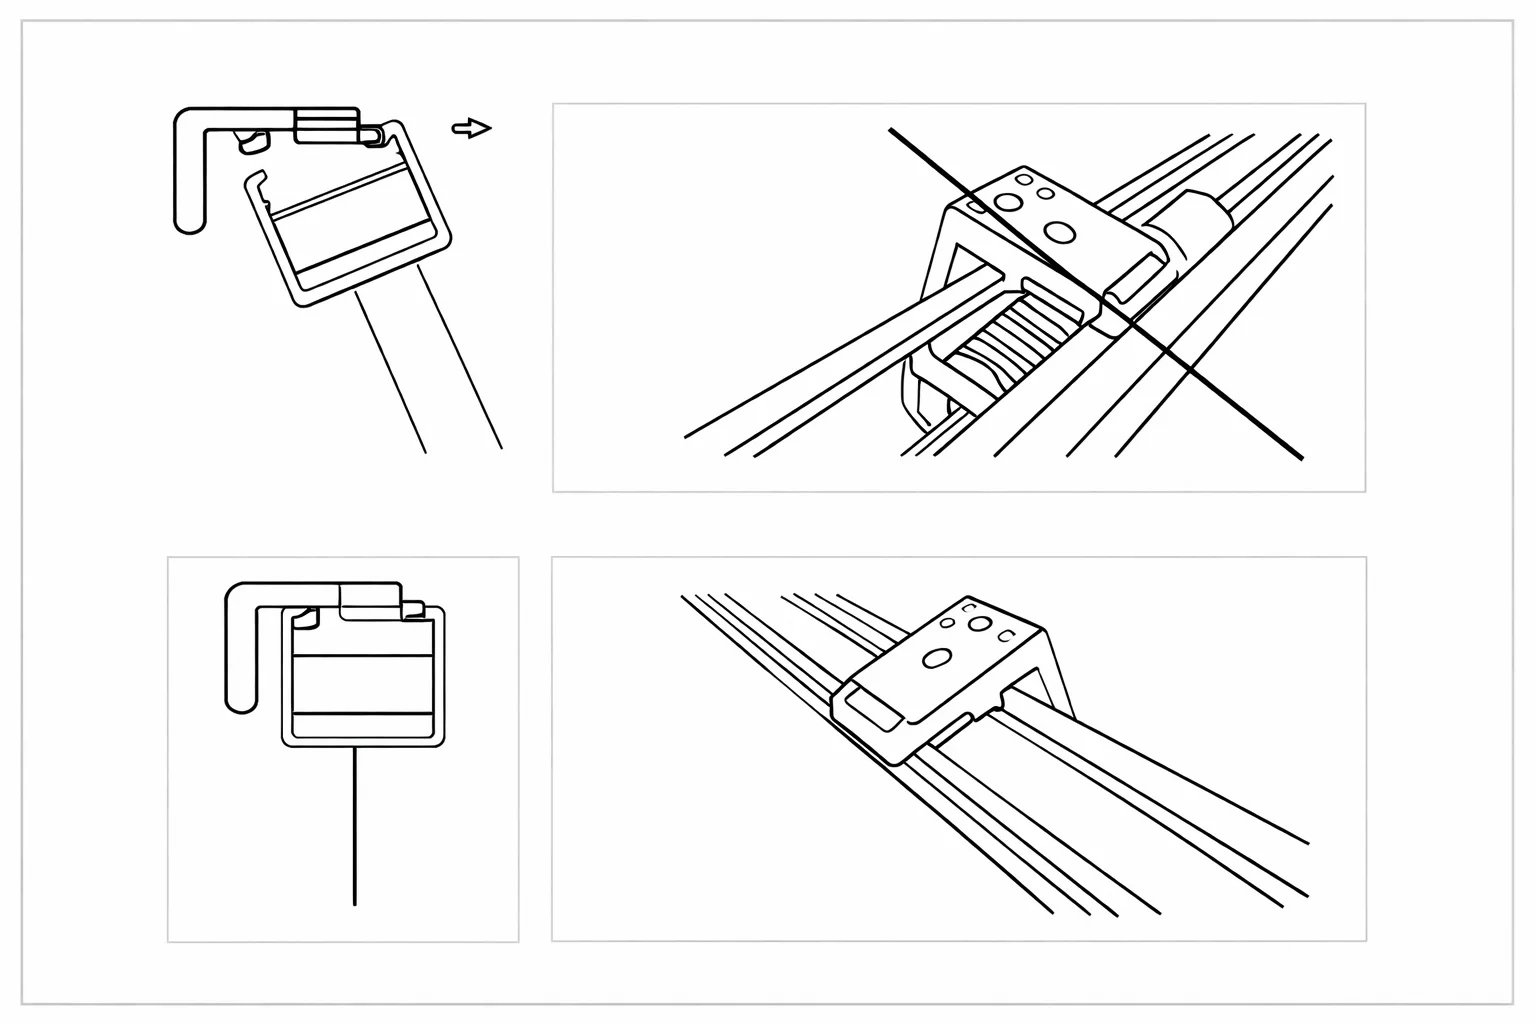
5. Snap the headrail into the brackets until it clicks. Installation complete.
Measuring Guide FAQ
1) Should I choose Inside Mount or Outside Mount?
Inside Mount gives a clean built-in look but requires enough recess depth and clearance. Outside Mount offers better coverage and is best if the recess is shallow or you want improved light control and privacy.
2) My window is inward-opening (tilt & turn). Can I do Inside Mount?
Sometimes yes, but you must check clearance. If the blind/shade may interfere when the window opens, choose Outside Mount or allow extra clearance.
3) What if my recess is not perfectly square?
Measure in three places (top/middle/bottom for width; left/centre/right for height). Use the smallest measurement for a safe fit.
4) Do I need to deduct a clearance for Inside Mount?
A small clearance is usually needed for smooth operation. If you’re unsure, submit your measurements and we’ll confirm the best fit.
5) My recess is partially tiled—what should I measure?
Measure the narrowest point, often the width between tiles, to ensure the blind/shade will fit.
6) What if there’s a handle, latch, or hardware inside the recess?
Allow enough clearance so the blind/shade won’t rub or hit the hardware. If unsure, send us a photo and your measurements.
7) For Outside Mount, how much extra should I add?
We recommend +10cm each side for width (Finished Width = W + 20cm). For height, you can add +10–20cm at the bottom depending on your preferred coverage.
8) I’m not sure about my measurements—what should I do?
No worries. Send us your width/height (and a photo if possible), and we’ll help confirm the correct size before you order.